

Short answer: The simplest and safest DIY leg makeup is a tinted lotion: a little liquid foundation mixed into an unscented body lotion, made fresh each time. It evens out skin tone and softens marks, but it isn’t water-resistant and will rub off on clothes. Skip kitchen ingredients such as citrus juice and undiluted essential oils, and patch test anything new.
Leg makeup can help on days when you’d like to even out dark spots from ingrown hairs, strawberry legs, veins or scars. Store-bought body makeup can be expensive, so making your own is tempting. This guide gives you a few practical recipes, explains which popular DIY ingredients can irritate or even burn your skin, and is honest about how long homemade versions last.
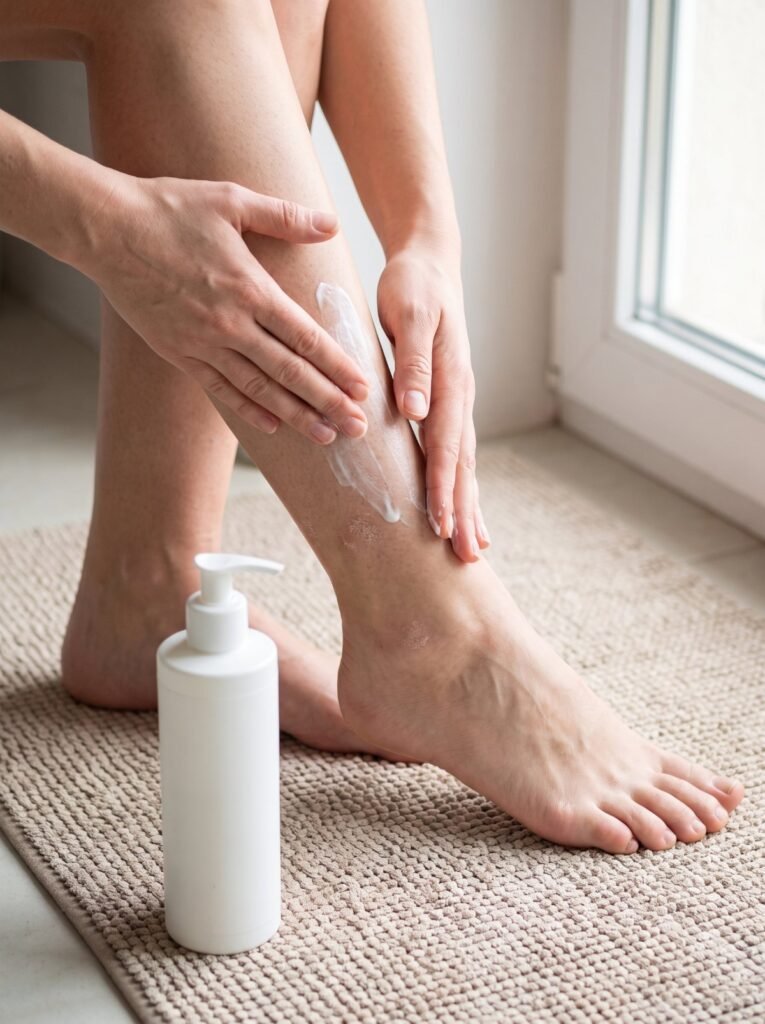
What DIY leg makeup can and can’t do
Body makeup is a camouflage cosmetic, meaning it is used to hide differences in skin color or texture. Dermatology sources list scars, bruises, veins and patches of uneven color among the things it can cover.[8] Homemade versions can do a lighter version of this: They even out tone, blur small marks and add a bit of color.
What they can’t do:
- Survive water. Professional camouflage makeup gets its water resistance from oils, waxes, high amounts of pigment and a pressed setting powder.[9] A foundation-and-lotion mix doesn’t have that structure. For pool days, read our guide to waterproof leg makeup for swimming.
- Hide hair. Makeup sits on the skin, so dark hairs and stubble stay visible. Remove or lighten hair first if that’s your main concern. Our guide to hiding stubble with makeup has more tips.
- Treat anything. Makeup covers marks. It doesn’t fade them or prevent new ones.
Before you start: Three safety rules
1. Patch test every new mix
The American Academy of Dermatology (AAD) recommends testing a new skin product on a quarter-sized spot that won’t get washed or rubbed, such as the inside of your elbow. Apply it twice a day for 7 to 10 days. If your skin turns red, itchy or swollen, wash it off and stop using it.[1] This matters even more for homemade products, because nobody has tested them on anyone else first.
2. Keep it clean and fresh
Homemade cosmetics don’t have the tested preservative systems that commercial products use. The US Food and Drug Administration (FDA) lists contaminated water and ingredients, ineffective preservatives and dipping fingers into containers among the ways cosmetics become contaminated with microbes. It advises against adding water to products, washing your hands before use and keeping containers clean.[4] In practice:
- Mix tinted lotion fresh for each use instead of storing a big batch.
- Leave water-based ingredients (such as witch hazel, aloe juice or tea) out of anything you plan to keep.
- Use clean, dry containers and spoons, and keep stored products cool and dry.
- Throw out anything that changes smell, color or texture.
3. Leave out the risky “natural” ingredients
Many DIY recipes online add ingredients that can do more harm than good on large areas of skin:
- Lemon and lime juice. These contain furocoumarins, natural chemicals that react with sunlight and can cause a burn-like, blistering rash called phytophotodermatitis. Dark marks from it can last weeks to months.[3] That’s the opposite of what you want on legs you’re about to show in the sun.
- Undiluted essential oils. Tea tree, ylang-ylang, lemongrass, clove and other essential oils can cause allergic contact dermatitis, an itchy allergic rash. DermNet advises not to apply neat, undiluted oils directly to the skin.[2]
- Fragrance in general, if your skin is sensitive. Dermatologists recommend fragrance-free products for dry, sensitive skin.[5]
Recipe 1: Tinted leg lotion (the easiest DIY leg makeup)
This is the most reliable homemade option because it uses two products that are already made for skin.
You need:
- A liquid foundation or tinted body product in a shade that matches your legs (often slightly different from your face)
- An unscented body lotion or cream. If you’re prone to breakouts, choose products labeled “non-comedogenic” or “won’t clog pores”, because makeup can trigger acne cosmetica.[7]
- A clean dish or the palm of your hand
How to make and apply it:
- Start with about one part foundation to two or three parts lotion. More foundation gives more coverage, more lotion gives a sheerer, easier-to-blend finish.
- Mix only enough for one application.
- Test the shade on a small patch of your shin in daylight.
- Smooth it over clean, dry legs in long strokes, one section at a time, and blend well around the ankles and knees.
- Let it dry for several minutes before getting dressed.
Expect it to transfer onto light-colored fabric and to wear off where your legs rub together.
Recipe 2: Layered coverage for scars, veins and dark spots
Foundation alone evens out color but not texture, and some marks need more than a sheer tint. Layering commercial products in the right order gives you more coverage. It takes practice to look natural, so try it at home first.[8]
- Color correct. Use a color corrector on marks that are very red, purple or yellow. Color correctors are used, for example, to hide the redness of a burn or the yellow tint of a bruise.[8]
- Conceal. Pat a thick concealer onto the mark. Concealers are thicker than foundation.[8]
- Blend in your base. Apply your tinted lotion or foundation over the whole area. Dab rather than rub, and feather the edges so there’s no line.[9]
- Mix carefully. If you blend shades to match your skin, keep it to two or three colors, because mixing more tends to look muddy.[9]
- Let it dry, then set it. Wait about five minutes, then press (don’t sweep) a translucent powder over the top. This reduces smudging and helps the makeup last longer.[9]
For raised scars, makeup helps with color but can’t flatten the surface. For marks from ingrown hairs and shaving, our guide to razor bumps and strawberry legs covers prevention and treatment.
Recipe 3: Simple whipped body butter (a base, not makeup)
A rich moisturizer makes leg makeup glide on more evenly and makes dry, flaky skin look smoother. It isn’t makeup on its own, but you can add a drop of foundation to a small scoop just before using it.
Shea butter and plant oils such as jojoba oil are among the ingredients the AAD lists for relieving dry skin.[5] A simple, water-free version:
- 3 parts shea butter
- 1 part a liquid plant oil, such as jojoba
- Melt the shea butter gently over a bowl of hot water, stir in the oil, and let it cool until it starts to firm up.
- Whip it with a hand mixer until fluffy.
- Store it in a clean, dry jar with a lid, and use a clean spoon to scoop it out.
We’ve left out the witch hazel and essential oils that many recipes include. Witch hazel adds water, which raises the risk of contamination in a product without preservatives, and essential oils are a common cause of skin allergies.[2], [4] Apply moisturizer while your skin is still slightly damp after a shower, and give it time to absorb before you put makeup on top.[5]

Recipe 4: Gentle sugar scrub for smoother legs
Flaky skin makes makeup look patchy. A sugar scrub is a form of mechanical exfoliation, meaning it removes dead skin by rubbing.[6]
- About 2 parts sugar
- 1 part plant oil
Mix them just before use, or store the dry mix in a sealed jar and keep water out of it. Many recipes add lemon or lime juice, but we recommend leaving it out because of the sun reaction described above.[3]
The AAD’s advice for exfoliating at home applies here: Rub gently in small circles for about 30 seconds, rinse with lukewarm water, and moisturize right afterward. Don’t exfoliate if you have open cuts, wounds or sunburn, and be careful if you use retinoid creams or benzoyl peroxide, which already make skin more sensitive.[6] If you have darker skin and are prone to dark marks, the AAD also advises avoiding strong exfoliation.[6] Scrub at least a day before you shave or wax, not right after.
What about cocoa powder, coffee and other kitchen tints?
Evidence: None Some DIY recipes tint lotion with cocoa powder, coffee, cinnamon or turmeric. We couldn’t find any studies on how safe or effective these are as skin makeup. Powders don’t dissolve in lotion, so they tend to look patchy and can stain clothes and towels. If you want to try one, patch test it for the full 7 to 10 days first.[1] A store-bought foundation mixed into lotion is usually more predictable.
How long does homemade leg makeup last?
Honestly, not very long. Expect tinted lotion to need touch-ups during the day, to fade faster in heat, sweat or rain, and to come off in water. Layered coverage with a pressed setting powder lasts longer, which matches how camouflage makeup works.[9]
If you want color that doesn’t rub off, self-tanner is a different approach. Sunless tanners contain dihydroxyacetone (DHA), which darkens skin by reacting with proteins in its surface layer. Bronzers, by contrast, sit on the skin and wash off over time.[10] Self-tanner gives no sun protection unless it contains sunscreen, so you still need SPF outdoors.[10]
How to remove it
Tinted lotion usually washes off with a regular body wash. Layered makeup with concealer and powder may need an oil-based cleanser first, which is how dermatology sources recommend removing water-resistant camouflage makeup.[8]
Take it off before bed. The AAD recommends removing makeup every night to lower the risk of acne cosmetica.[7]
Frequently asked questions
Can I make waterproof leg makeup at home?
Not reliably. Water-resistant camouflage makeup relies on an oil-and-wax base, high pigment and a pressed setting powder.[9] Homemade mixes don’t hold up the same way. For swimming, a commercial water-resistant body makeup or a self-tanner works better.
Can I use my face foundation on my legs?
Yes. Mixing it with an unscented lotion makes it spread further and blend more easily. Choose a shade that matches your legs, and use a non-comedogenic product if you’re prone to breakouts.[7]
Is DIY leg makeup safe for sensitive skin?
It can be if you keep it simple: Fragrance-free products, no citrus juice, no undiluted essential oils, and a 7 to 10 day patch test before using it on large areas.[1], [2], [3], [5]
Can leg makeup cover spider veins and scars?
Makeup can disguise veins and flat scars, especially with a color corrector and concealer under the base.[8] Raised scars will still show to some degree.
How long can I keep homemade leg makeup?
Make tinted lotion fresh each time. Water-free body butter and dry sugar scrub keep longer if you store them clean and dry, but throw them out if they change smell, color or texture. Products without preservatives are more prone to microbial contamination.[4]
Key takeaways
- The easiest DIY leg makeup is liquid foundation mixed into unscented lotion, made fresh each time.
- Layer a color corrector, concealer, base and pressed powder for more coverage on scars and dark spots.
- Skip citrus juice, undiluted essential oils and water-based additions in homemade products.
- Patch test new mixes for 7 to 10 days before using them on your whole legs.
- Homemade leg makeup isn’t water-resistant. For swimming, use a water-resistant body makeup or self-tanner instead.

Free: The Hirsutism Action Plan
A 12-page guide: what’s causing your hair growth, which tests to ask your doctor for, and which treatments actually work, plus a printable doctor visit checklist.
You’ll also get our weekly email. Unsubscribe anytime.
Sources
- American Academy of Dermatology. How to test skin care products. Accessed October 2026. Link
- DermNet. Allergic contact dermatitis to essential oils. Accessed October 2026. Link
- Mioduszewski M, Beecker J. Phytophotodermatitis from making sangria: a phototoxic reaction to lime and lemon juice. CMAJ. 2015;187(10):756. doi:10.1503/cmaj.140942
- US Food and Drug Administration. Microbiological safety and cosmetics. Accessed October 2026. Link
- American Academy of Dermatology. Dermatologists’ top tips for relieving dry skin. Accessed October 2026. Link
- American Academy of Dermatology. How to safely exfoliate at home. Accessed October 2026. Link
- American Academy of Dermatology. I have acne! Is it okay to wear makeup?. Accessed October 2026. Link
- DermNet. Cosmetic camouflage, makeup. Accessed October 2026. Link
- Draelos ZD. Camouflaging melasma dyspigmentation. Cosmetic Dermatology. 2007;20(5):281-282. Link
- US Food and Drug Administration. Sunless tanners and bronzers. Accessed October 2026. Link
This article is for education and is not medical advice. Talk to a doctor about diagnosis and treatment.